The time has come to replace the soft top on my Mk4 Triumph Spitfire. For some time now the old soft top has looked rather tatty, but I didn’t want the expense of buying another. It was a hard decision choosing which one to buy. I didn’t want to spend a massive amount, so a mohair one was out of the question, but I also didn’t want to buy the cheapest that may only last a few years.








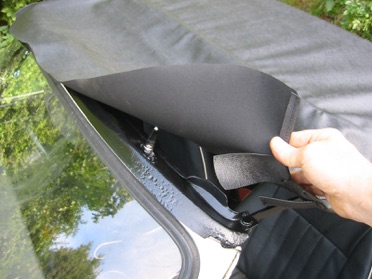
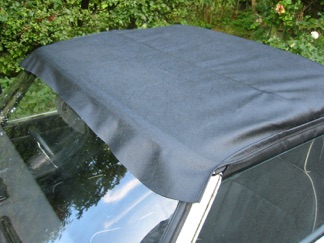
The instructions that came with the soft top said to lay the new one over the top of the old one as an initial check to make sure that the new one looks correct for the car. As you can see in the photo, I asked if they could make me one without the corner windows because they seemed to be the first parts of the old soft top to tear.
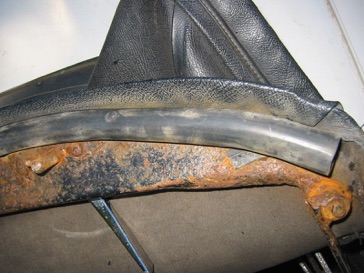
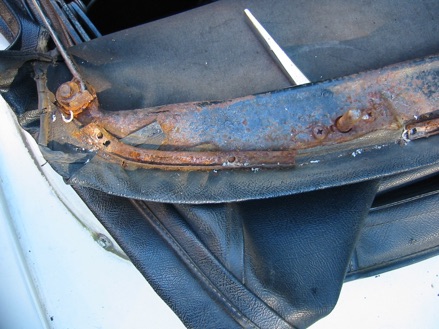
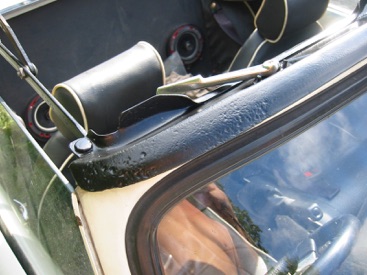
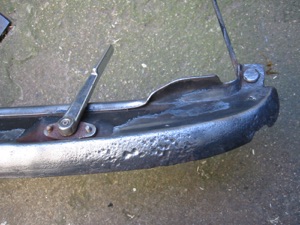
The first thing to remove was the rubber seal where the soft top attaches to the top of the windscreen. The rubber simply pulled out of the channel. As you can see in the photo below, the channel was badly rusted, so this one will not be refitted. I have ordered some new channels, a new rubber seal and the rivets to fasten to channel in place.
The channels were removed by simply drilling the old pop rivets out.
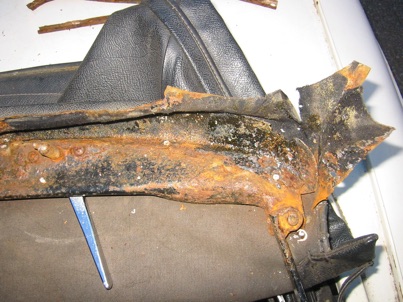
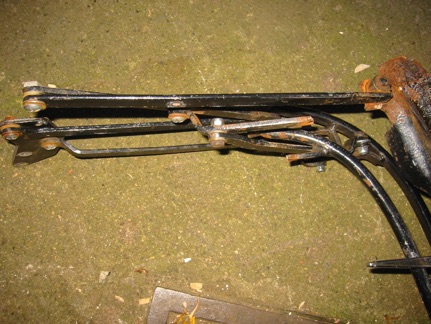
With the seal channels removed, the old soft top vinyl could be peeled back from the frame. As you can see the frame was solid but had quite a bit of surface rust. This would need a good clean down using a wire brush attachment on my angle grinder.
After removing all the press studs, the last thing to remove was the two bolts that secure the rear of the soft top. Again the old vinyl has to be separated from the metal frame so that the frame could be re-used.
The vinyl completely removed leaving the bare frame ready for some repairs before fitting the new vinyl.
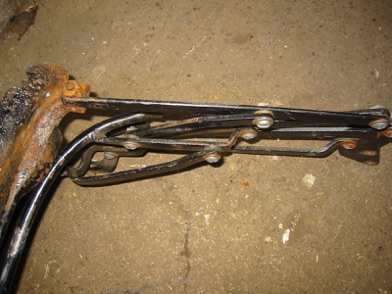
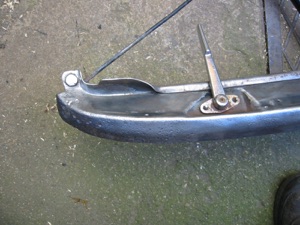
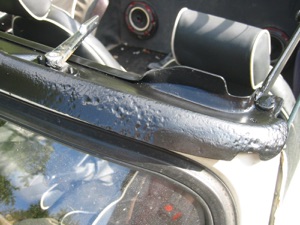
The frame de-rusted and painted, ready for the new vinyl to be fitted.
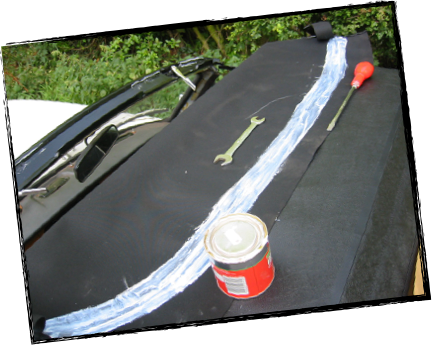
I forgot to take a photo of the gluing of he metal section into the rear of the new vinyl. The instructions suggested using an impact adhesive such as evostick. It also suggested using two coats of adhesive on the vinyl.
Here the rear of the soft top is bolted down and the press studs fastened. It took a lot of effort to stretch the vinyl to be able to fasten the press studs. Hopefully the vinyl will stretch with use.
The front of the soft top is now ready to be glued to the frame. As suggested in the instruction, I had a couple of helpers pull the vinyl forward while I marked the glue area from inside using some chalk.
The second coating of glue applied to the vinyl
The front of the soft top glued to the frame.
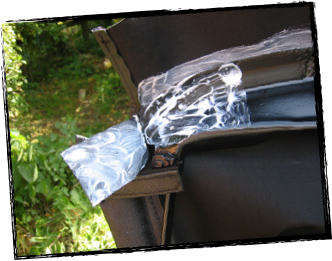
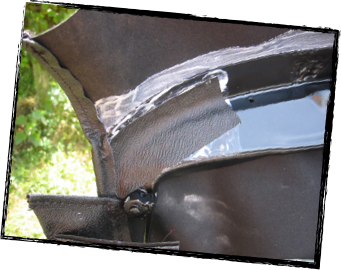
I then punched a hole through the tabs that pull the window seals toward the frame. A pop rivet was then used to fasten the tab to the frame.
This photo shows the new seal channels riveted onto the hood frame, they appear to be made from stainless steel, which is good news. I sprayed the channels and the new rubber seal with silicone lubricant and slid the rubber through the channels. Job done.