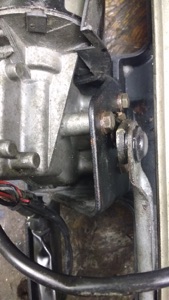
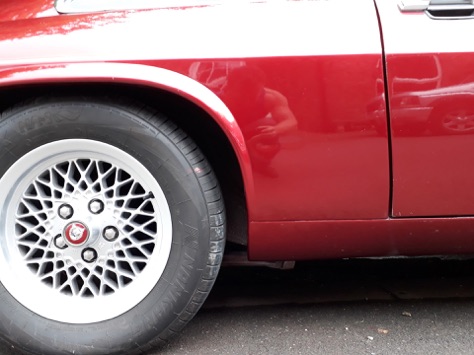
Corrosion was getting a hold on the drivers side wheel arch on my 1992 Jaguar XJS. I used a wire wheel on my angle grinder to remove the rust. I was left with a hole as in these photos.




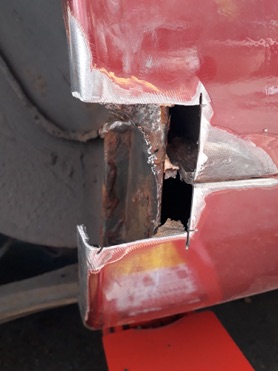
I cut back the corroded section to good metal.
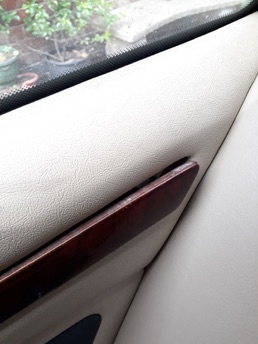

Before I could do any welding, I needed to get inside the panel to make sure I could stop anything catching fire.
I levered out the wooden trim.
There were 2 screws behind the wooden trim that needed removing.
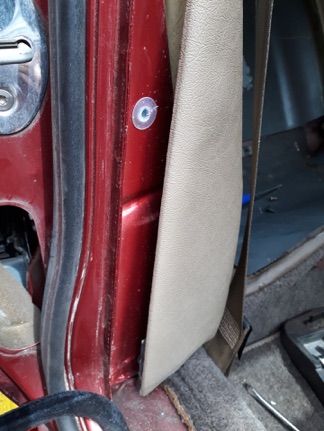
Two plastic plugs needed prizing out of the ‘B’ column. To access them the sill trim and fur trim were removed first.

There is an ECU behind the trim. Once the 2 bolts were removed, the ECU was moved out of the way.

With the ECU out of the way, and the foam sound insulation moved back, the hole in the panel can been seen.
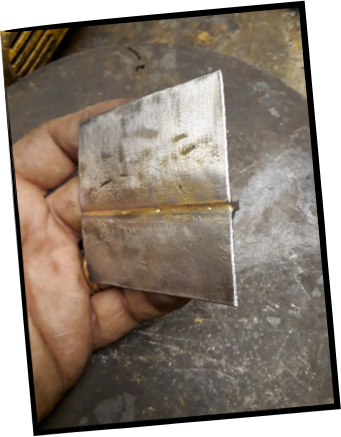
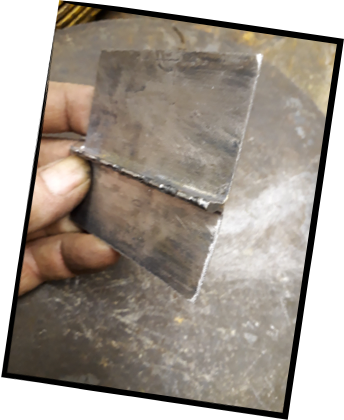
I welded and brazed a couple of pieces of steel together to make a patch for the hole. I wanted to keep the seam to keep the panel looking original.
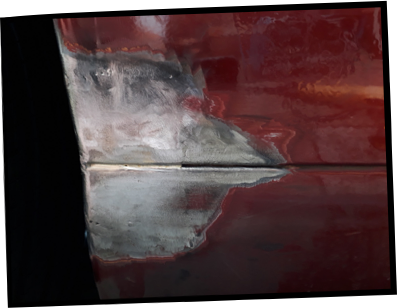
After welding and grinding, the patch looks fairly good. I still need to flat the primer down and then spray some top coat on.
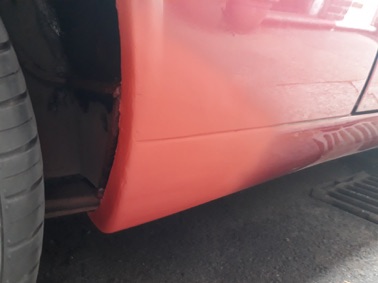
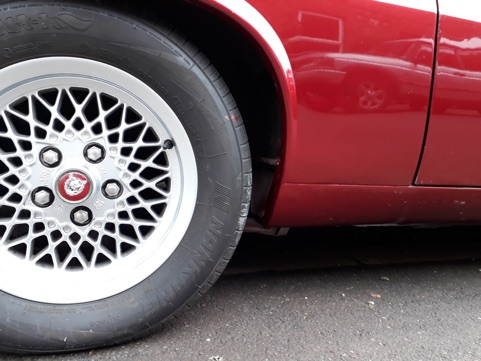
I purchased some Valspar Octoral polyester base coat from Jawel Paints. The Jaguar colour is Flamenco Red with code CFH. I followed the base coat with a couple of coats of 2K NON-Isocyanate lacquer. The colour match looks good and has a smooth finish.
