When I last took my 1999 Land Rover Discovery 2 TD5 for an MOT test, the inspector warned me that there was a very small amount of play on the front offside wheel bearing. A few months have passed since then and I had been meaning to look to see what could be done. I initially thought that I might be able to tighten up the bearing to remove the play, but I also wouldn’t have been surprised if it wasn’t adjustable. I was surprised, however, to find that it isn’t possible to change the bearing, but instead it is necessary to replace the whole hub including ABS sensor. While the replacement part hurt me by costing £180, it did make the job a lot easier than having to replace the bearings. Upon inspection, I found that the amount of play had increased dramatically. It was definitely time to fit the replacement.


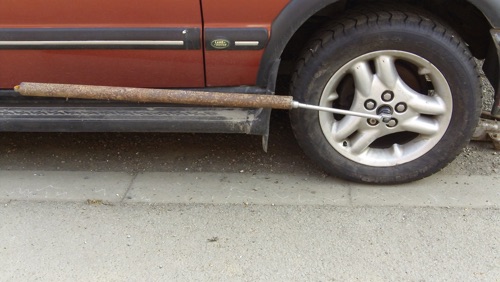


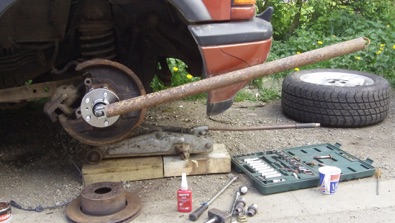
The hub nut is tightened to 360 lb/ft, so I extended my breaker bar with a length of steel tube to make it easier to undo. I had previously taken the wheel off and bent out the section of the nut that is punched to lock it in place.
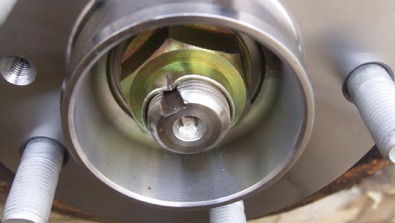
The car jacked up, the wheel removed. The hub nut is still in place, but the tension has been released.
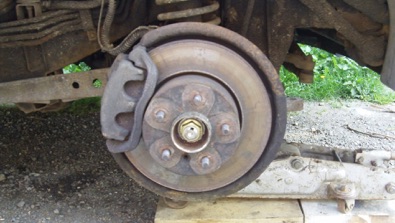
The hub nut removed.
At this point I unclipped the ABS sensor cable from all the fasteners and disconnected it from the wiring loom inside the engine bay.
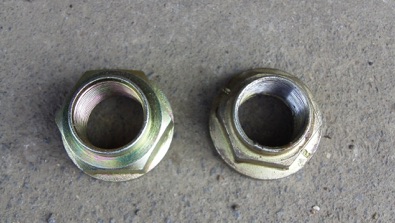
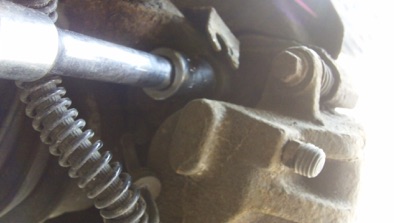
I was surprised again to find that the new hub nut needed a different sized socket to the old one. You can see the difference here with the new on on the left. This meant that while I could slacken the nut with the wheel on, I would need to tighten it fully with the wheel off since the socket wouldn’t fit through the hole in the wheel.
Removing the two bolts that fasten the complete brake calliper to the hub.
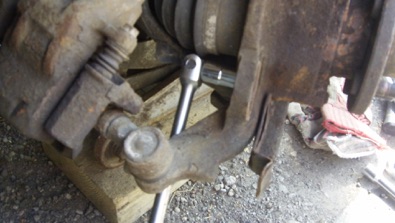
The calliper unbolted resting on the track rod.
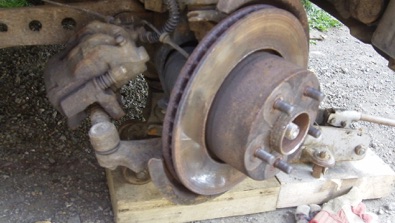
The brake disc removed. I had to tap around the edge of the disc to get it to release it’s grip of the hub.
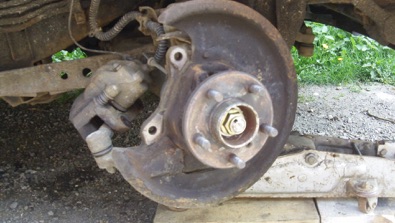
Removing the four bolts that hold secure the hub.
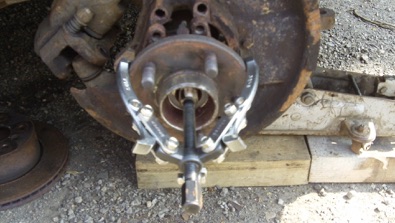
A three legged puller releasing the hub from the drive shaft.
The hub removed. I spent some time cleaning the surfaces where the new hub will fit. I also cleaned the drive shaft splines ready for re-fitting.
The new and old hubs. The old oil seal had clearly disintegrated allowing dirt and water into the bearing.
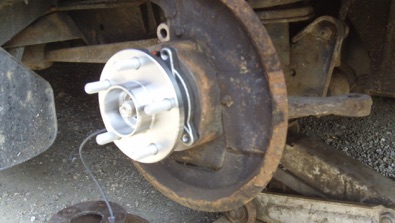
Trial fitting the hub to make sure it slides on easily before putting any Loctite on the splines.
I put a 3mm bead of Loctite 638 on the very end of the splines and quickly slid the hub into place. I have read some comments on forums suggesting the use of Loctite 640, however 640 takes 24 hours just to reach handling strength whereas 638 only takes 3 minutes, allowing sooner use of the car.
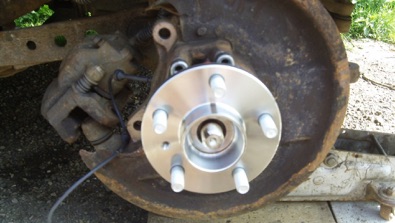
I quickly replaced one of the bolts that holds the hub in place, then tightened the hub nut to 360 lb/ft. I don’t own a torque wrench that goes that high, so I marked 2ft on my steel tube then carefully stood all my weight (180lb) on the 2ft mark.
The new hub nut, tightened up and ‘staked’. It was now just a matter of putting it all back together, not forgetting the ABS connector.
