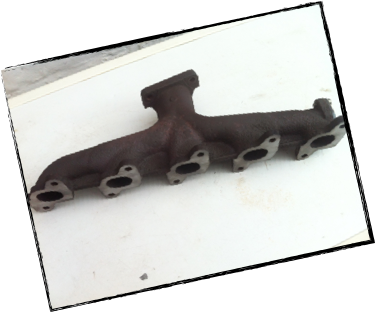
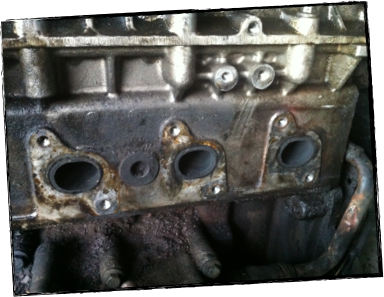
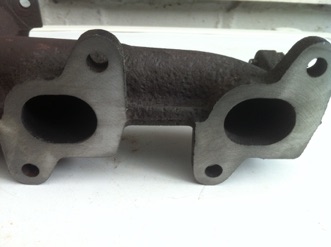
Under heavy throttle, my 1999 Land Rover Discovery TD5 started making a screeching noise from the engine. Over a period of many months, the noise started occurring more often and became more irritating. Investigation revealed that the exhaust manifold gasket was leaking due to a warped manifold. Further investigation revealed 2 snapped studs on exhaust port 1.


I removed the turbo heat shield and air intake pipe.
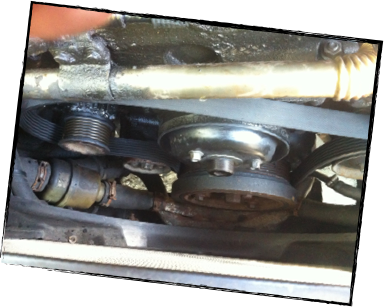
I removed the fan to allow access for removing the serpentine belt and EGR pipe.
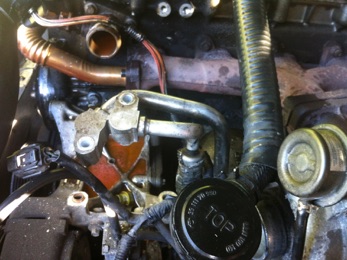
I then removed the air conditioning compressor to allow easy access for removing the snapped studs. My air conditioning needed re-gassing, so there was not a problem removing the compressor.
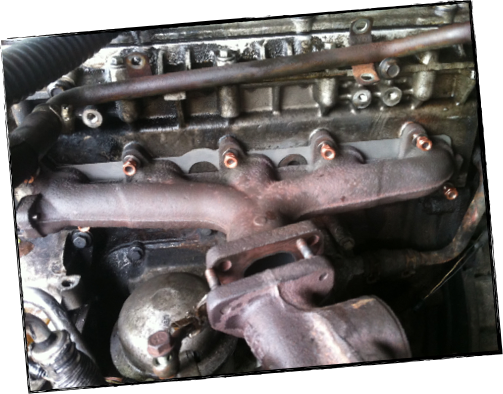
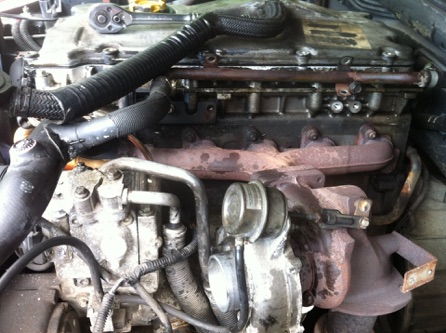
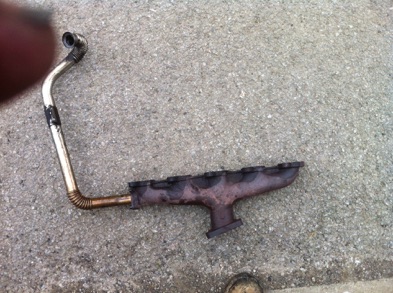
I then separated the turbo from the exhaust manifold, it was necessary to disconnect the oil feed to the turbo. I couldn’t get the EGR pipe off the manifold, so I had to take it all off in one piece.
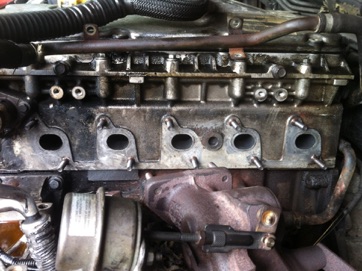
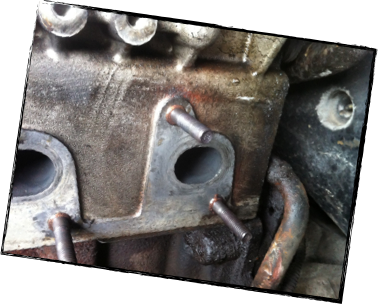
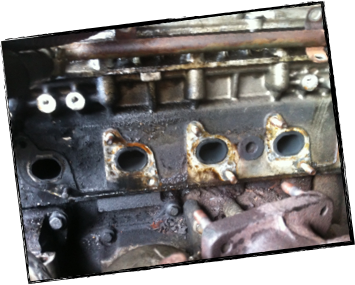
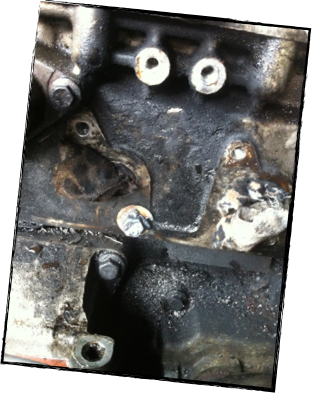
You can see the soot around port 1.
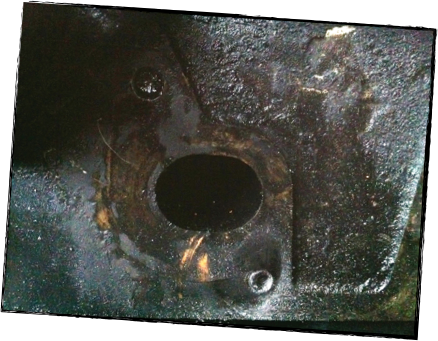
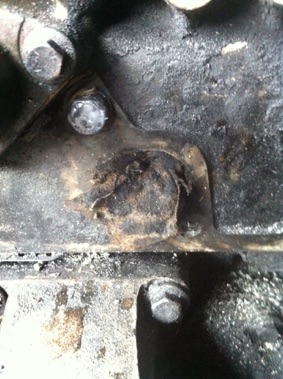
The top stud was sheered just below the surface of the head. The lower stud had about 10mm showing, so I welded a nut onto it, but when I tried to remove it, it sheered off level with the head.
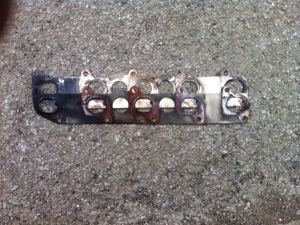
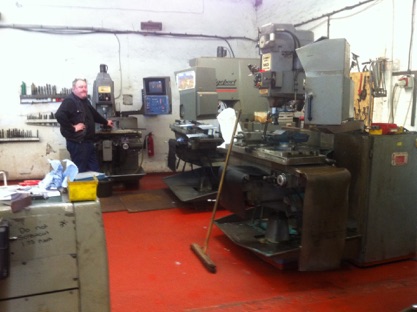
In the mean time, I took the exhaust manifold to JJC Engineering Ltd in Thornaby on Tees. They skimmed the face of the manifold for me.
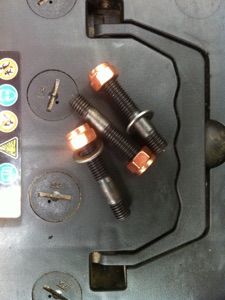
I removed the other studs by locking two nuts against each other and then unscrewed the studs.
Back to the snapped studs. I tried a few ways of removing them. First I drilled a hole in them and then tried hammering a Torx bit into the hole. Trying to unscrew the stud snapped the Torx bit. I tried to use an Easy-Out, but I didn’t want to put too much force on it in case it snapped too. I then welded a washer onto the stud, getting as much weld into the hole as possible. Then I welded a nut to the washer. The lower stud then came out fairly easily, but the top one needed several attempts before having success.
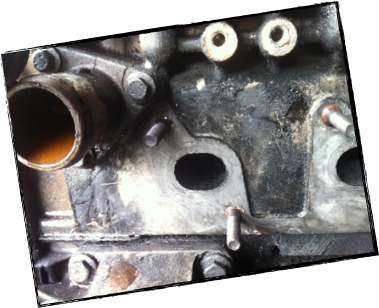
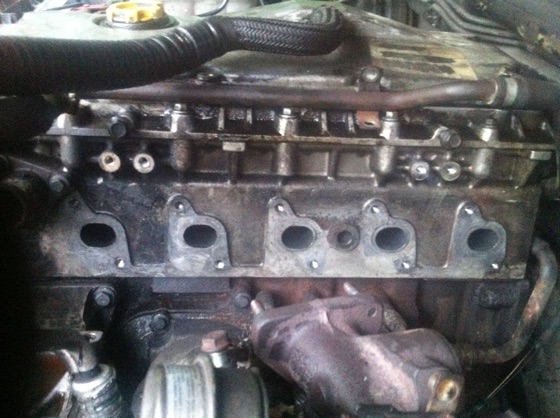
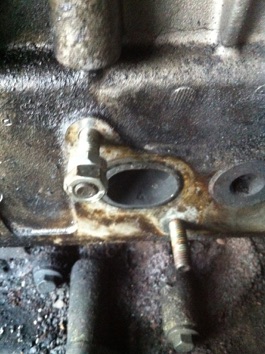
The head cleaned ready for re-assembly.